


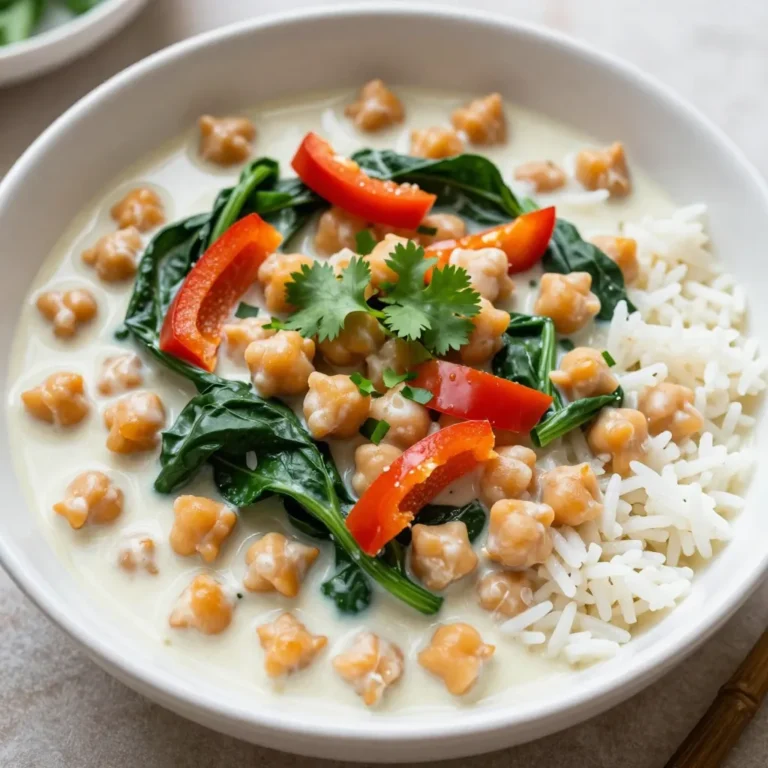

LATEST RECIPES

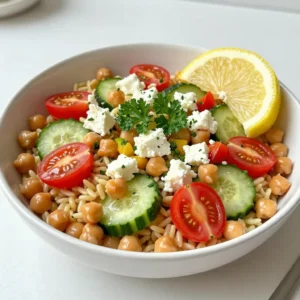
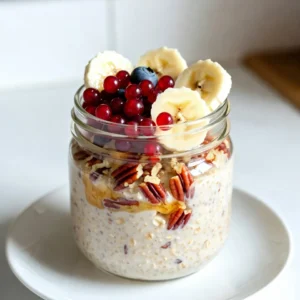

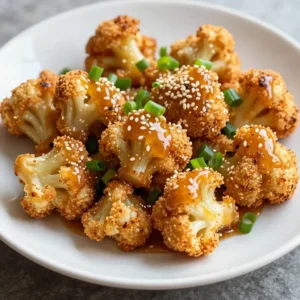


LET'S GET COOKING!
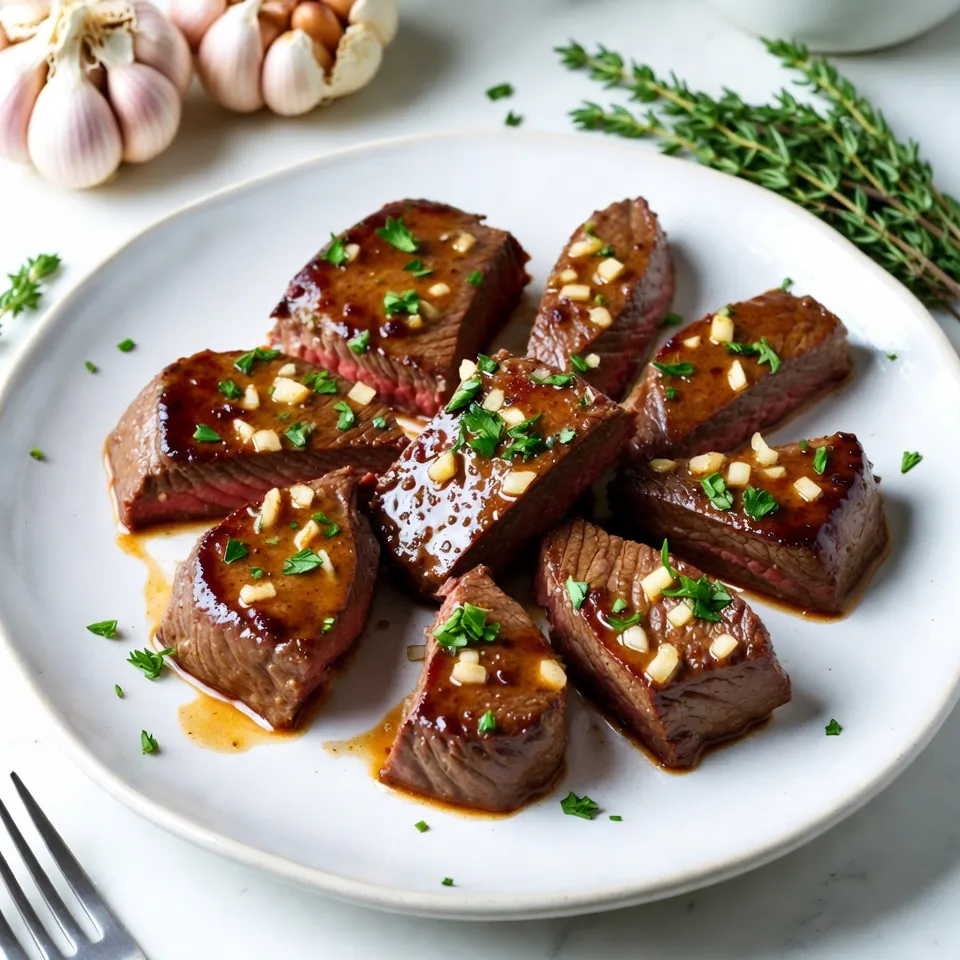
Savory Garlic Butter Steak Bites Easy and Flavorful Treat
Craving a quick and delicious meal? These Savory Garlic Butter Steak Bites are your answer! With tender sirloin cooked in rich garlic butter, this dish...
Read Full Recipe →